
The Easiest Way to Make Your Space So Homey (Before You Even Walk In!)
When my roommate and I wanted to add something small that made our space feel more like us, we knew it had to be something low-effort but still creative and cute. That’s how we ended up sitting on the floor and painting doormats on a random afternoon. It was a fun and easy project, and the results came out better than we could’ve imagined.
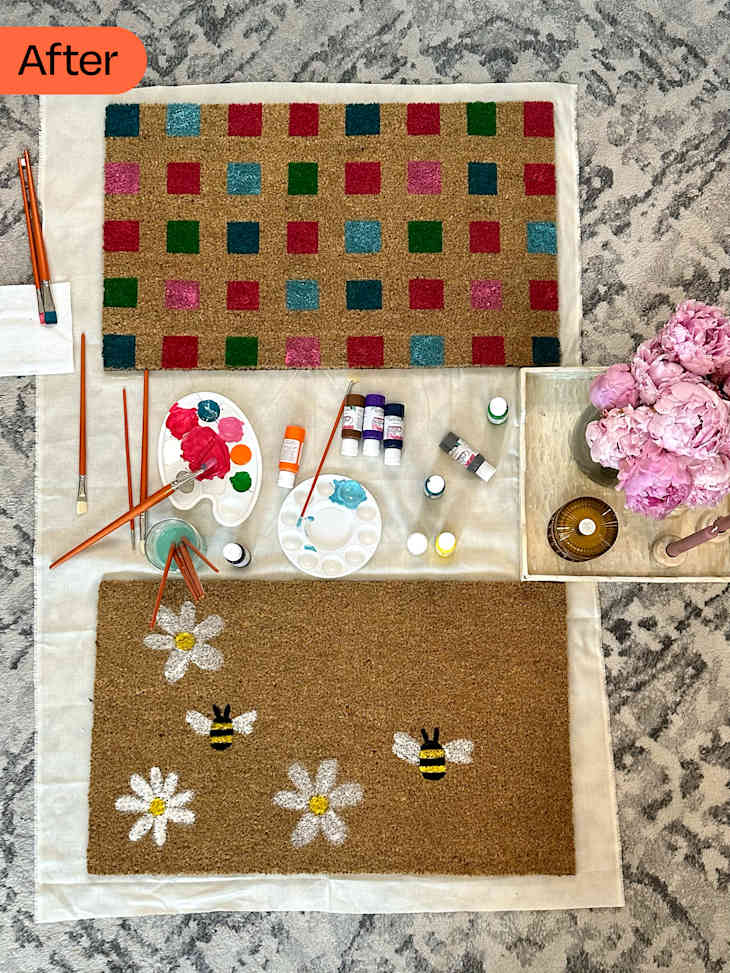
My best friend freehanded bees and flowers (I’d expect nothing less of her!), and I tried something more structured: a square design with clean lines. I didn’t have a stencil, so I just used tape, and it worked so well.
One little roll of painter’s tape ended up being the secret to the whole DIY. It made everything way easier and made my mat look 10x more polished. Here’s how you can try it for yourself.
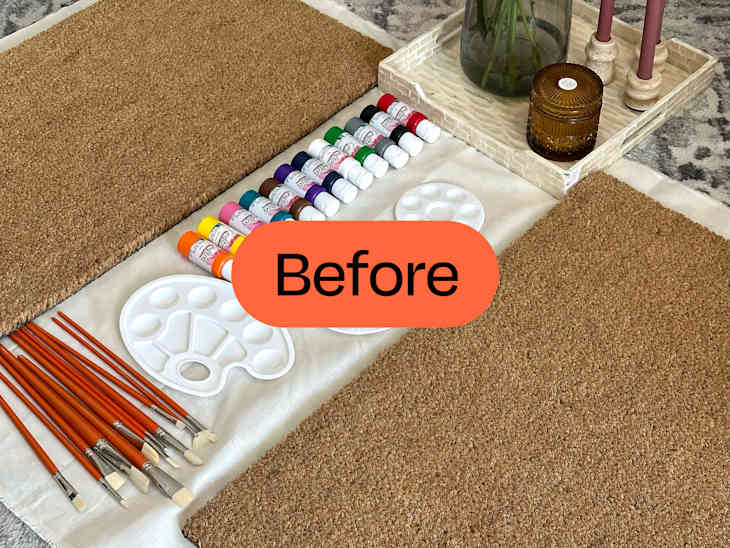
What You Need
- Plain coir doormat (we found ours at The Home Depot)
- Outdoor acrylic paint (bold colors show up best!)
- Painter’s tape or masking tape
- Foam sponges or paint brushes
- Clear outdoor sealant spray (so it stands up to different weather conditions)

How to DIY a Custom Doormat
- Clean off the mat. We used a dry brush and swept it across the mats to remove loose fibers.
- Lay down a design. Depending on what you’re going to paint, use masking tape or painter’s tape (more on the latter later!) to create your preferred design. If you’re going freehand, you can skip this step!
- Start painting! Dab on paint using thick paint brushes, and don’t skimp: thick coverage is key.
- Wait for them to dry. Let them dry for one to two hours or overnight; just make sure they’re fully dry before you do the next step.
- Peel off the tape. Carefully peel off any tape you set down to reveal your (almost) final product.
- Seal your design. Use a spray with sealant following the directions on the can to protect your work and so your mat is ready to withstand different weather conditions. (You probably want to do this outside.)
- Show it off! We took about 100 photos of our mats on our step immediately after to admire our work.
Create a Stencil with Painter’s Tape for Crisp Lines
I went for a clean, graphic square design and my secret weapon was painter’s tape. It helped me map everything out before painting and made the lines look super crisp, even though I was totally winging it.
My best friend went full flower-and-bee mode (no tape involved), but if you’re going for shapes or patterns, this trick seriously changes the game since it’s designed to be painted over while providing a clean line. Just tape, paint, let it dry, peel off the tape, and you’re done.
The Result
Once everything dried and I peeled the tape off, I couldn’t stop staring at it. The lines were so clean, and the whole thing looked way more polished than I expected. It made the front of our apartment feel instantly more personal — like a little “hi, this is us” moment before you even walk in. And now every time I leave or come home, I get a tiny serotonin boost from this random DIY I almost didn’t do.
