
The Surprising Home Depot DIY That’ll Totally Upgrade Your Room (It’s So Cute!)
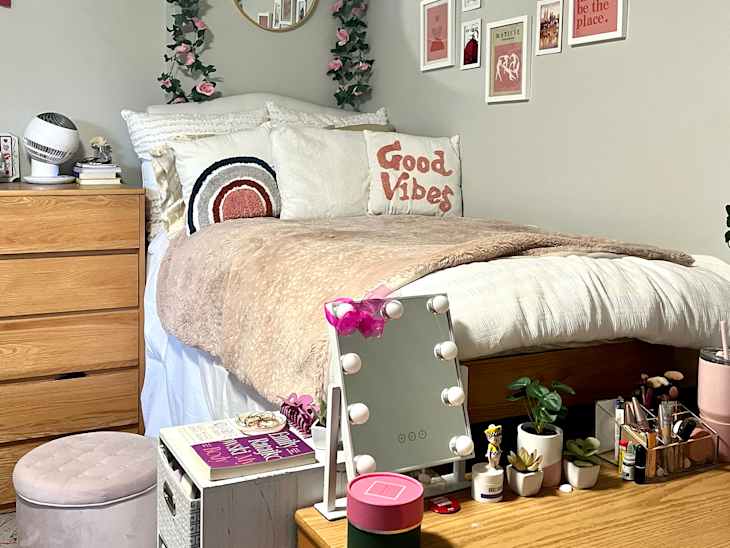
Sometimes storage solutions don’t perfectly match your desired room aesthetic — but when you’re in a small space, they’re necessary. Thankfully the options for keeping your stuff organized aren’t limited to just plastic boxes and crates — if you’re feeling crafty, then a simple, affordable DIY might be the solution to creating the cutest storage item that even doubles as decor (and a foot rest!).
In a recent TikTok user Hannah (@hannah.e.west) gives a step-by-step tutorial on how to create a plush, adorable ottoman using a bucket from The Home Depot (yes, you read that right), and crafts it using tools you might already have at home.
How to Make Your Own Ottoman
To replicate this DIY yourself, gather the following supplies:
Supplies:
Step 1
The first thing you have to do is glue your two wooden circles together to create one thick plaque as the base for your cushion.
Step 2
Set those aside for the moment, and then cut your chosen fabric. Make sure you cut a square that’s larger than your circle — enough to fold it over and staple to the circles.
Step 3
Lay out your cut fabric on the floor, and add a few handfuls of polyester fiber on top. Then put your wooden circle on top. Pull the ends of the fabric toward the middle of the circle tightly, and staple it in the center (this will require a generous amount of stapling!).
Step 4
Once your cushion is ready, it’s time to get working on the base. Remove the handle from the bucket by pulling it out of the holes on the sides. Hold up your remaining fabric to the bucket, and mark where you need to cut to cover it completely. Stretch the fabric against a ruler and use a rotary cutter alongside the ruler to cut it straight. If you don’t own a rotary cutter, a pair of fabric scissors can do the job as well — it will just require a bit more precision as you go through the cloth.
Step 5
To give your ottoman skirt a pleated look, pull your fabric through a fork’s slits, and then fold it over itself. Once you have one pleat, you can temporarily hold it in place with a small binder clip. Continue this process, and then pull a thread through the different pleats to sew them together. Fold the extra fabric at the top into the bucket, and glue it to the inside of the bucket. Once it’s dry, all that’s left to do is place your cushion on top of your bucket — and just like that, you’ll have a brand-new ottoman ready to store any extra items lying around your room!
Just a reminder: Because this is made using a bucket, this item isn’t recommended for seating. However it’s totally suitable for throwing your feet on it after a long day, like any typical ottoman.
Affordable Ottomans to Buy
If you’re looking for a cushion-y ottoman that also functions as storage, without any of the DIY-ing, there’s plenty of affordable ready-to-buy options out there as well.

This IKEA ottoman is a great low-cost storage option that will still go with almost any decor aesthetic.

If you want more of a vintage vibe, try this mushroom-shaped bouclé storage ottoman for a little whimsy.
This post was a collaboration between Dorm Therapy and Apartment Therapy, and it originally appeared on Apartment Therapy. See it there: This Unexpected Home Depot DIY Will Be the Cutest Part of Your Room (Seriously!)
