
This Whimsical, Last-Minute Holiday Decor Is Basically Free (I’m Seeing It Everywhere!)
As the child of a preschool teacher, I’ve made more than a paper garland or two in my day. And lately, I’ve been seeing so many colorful, quirky garlands in my feed, as people decorate their spaces for the holiday season beautifully, and frankly it’s warming my heart.
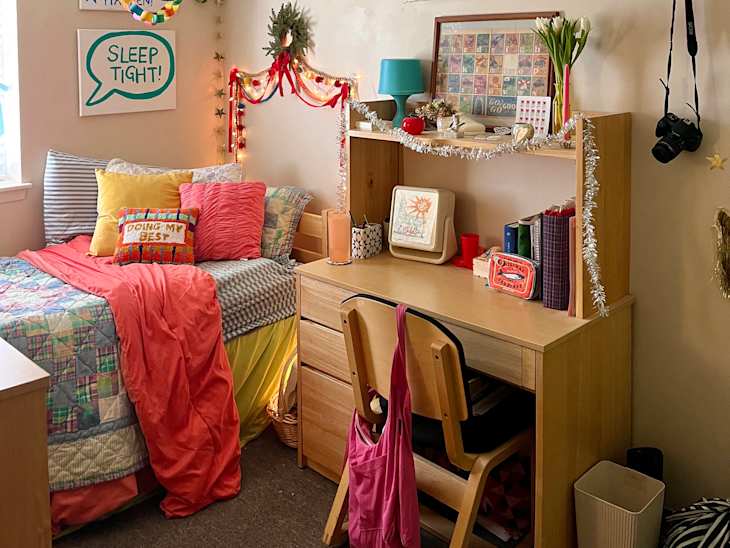
I am of the belief that everyone could use a little extra crafting in their life. Whether you’re simply looking to add a touch of fun to your decor or want to reminisce on your childhood and decorate your dorm on a budget, a paper garland is an easy way to add some extra oomph to your space for cheap.
Plus, there are so many ways to put your own spin on this elementary school craft. For one, you could lean into a traditional, bright garland like Addie (@addie5705) in this TikTok video, which screams nostalgia to me.
Or, for a more modern, eclectic look, I’m getting so much inspo from Cassie’s (@adashofcassie) TikTok video tutorial for a funky, chunky paper chain, which makes a bolder statement.

How to Make Paper Garlands
Making a paper garland is incredibly easy (even preschoolers can do it) and such a fun craft for a chilly winter night, so long as you follow a few simple steps.
Step one: Pick a color scheme.
You could go for an updated take on classic Christmas colors with pale greens and pinks, or do a trendy pastel pattern if you are looking to match the decor you already have going on.
Step two: Cut strips of paper.
Once you’ve made that decision, you have to cut the paper into uniform pieces (if you’re buying the precut strips, you can skip this step). Sizing can vary based on the style of garland you’re making; for instance, for the chunky garland, Cassie recommends using 2×6- inch strips of paper. I’d recommend cutting more than you think you need in case you want to make it longer.
It’s also helpful to lay the stacks of paper out in the order of the pattern you’re making to keep the creative process easy.
Step three: Loop the pieces of paper together.
Start by creating one loop and stapling it or using a small piece of double-sided tape to secure it. Then, slide the next color through the first loop, secure it, and continue doing that until you’ve reached your desired length.
Step four: Hang up your gorgeous paper chain!
Once your paper garland is complete, the possibilities of where to hang it are endless. They’d look precious on a Christmas tree or draped over a mantle or bed frame. However, it could also be a more year-round fixture hung around a doorframe or strewn across the ceiling of your living room.
No matter what plans you have for your new project, this paper garland is a cheap and easy way to get back into the crafting spirit.
